Hey there! Today’s video shares all of the basics of heat embossing and lots of tips and tricks to improve your results. I fell in love with the magic of heat embossing and this week I will share lots of technique videos using embossing powder to create cards.
(Looking for anything that I used in the video? All of the supplies are linked with images to multiple stores at the end of this post. Compensated affiliate links used when possible. Watch the full video HERE in HD!)
Tonic Studios kindly provided me with a discount code for all of you! Click HERE to shop at Tonic and use the code “simon” at the checkout to receive 10% off your entire order.
EMBOSSING TOOLS
I think it is super important to invest in a good heat tool that will give great results and is very reliable. I love this Wagner Heat Tool because it heats up the embossing powder very quickly and gives me a great quality embossed image every time!

The clear ink that you choose can change the quality of your embossed images for better or for worse. I have had lots of luck with Nuvo Clear Mark ink and Versamark. These are both clear watermark ink pads that hold embossing nicely and can be used for several other techniques.

This Anti-static Pouch is a life saver! By rubbing this onto your cardstock before embossing it ensures that you won’t have any embossing powder stick in random places around the project.

EMBOSSING TIPS
If you forget to use the anti-static pouch before embossing, you can wipe off any excess embossing powder with a little paintbrush. This is a bit time consuming, but it works and you won’t have to re-emboss the image again.

Be sure to stop applying heat once the image turns shiny. If you apply too much heat, the embossing powder sinks into the paper and makes the image dull and burnt!

If you are having trouble getting a smooth and solid embossed image here is something to try. Instead of heating from the front of the cardstock, use the heat tool behind the image. This allows you to apply heat without blowing any of the little embossing powders off and gives a super smooth result!

You can also turn your own handwriting into an embossed sentiment. I use the Clear Mark Embossing Pen to write out my sentiment… you can also draw images or fill in areas that didn’t fully emboss.

SUPPLIES
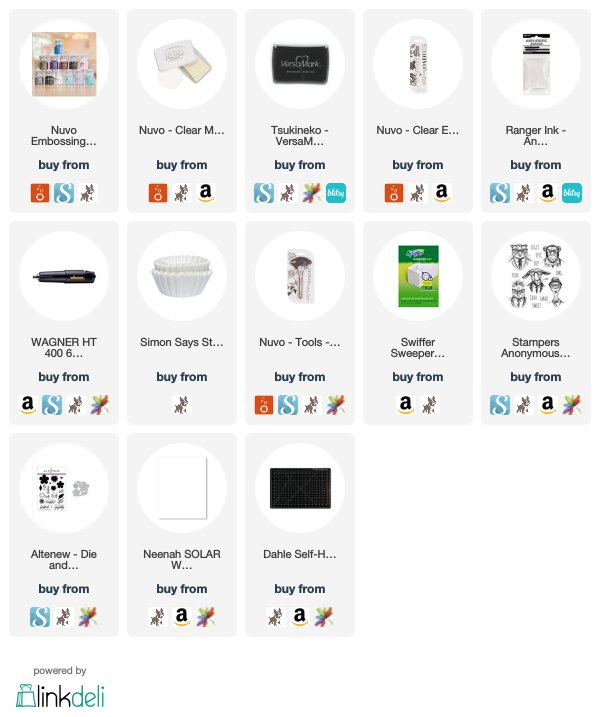
Below are all of the supplies used in today’s video linked to multiple stores for convenience. Compensated affiliate links used when possible (when you use these links it helps support me at no extra cost to you)… Thank you!