Hi all! Today’s video shares a fun and versatile way to create dry embossed backgrounds that are stunning, textured, and spotlight stamped images nicely. This is a great way to get different results with your dies and stretch their abilities!
Watch the full video HERE in HD!
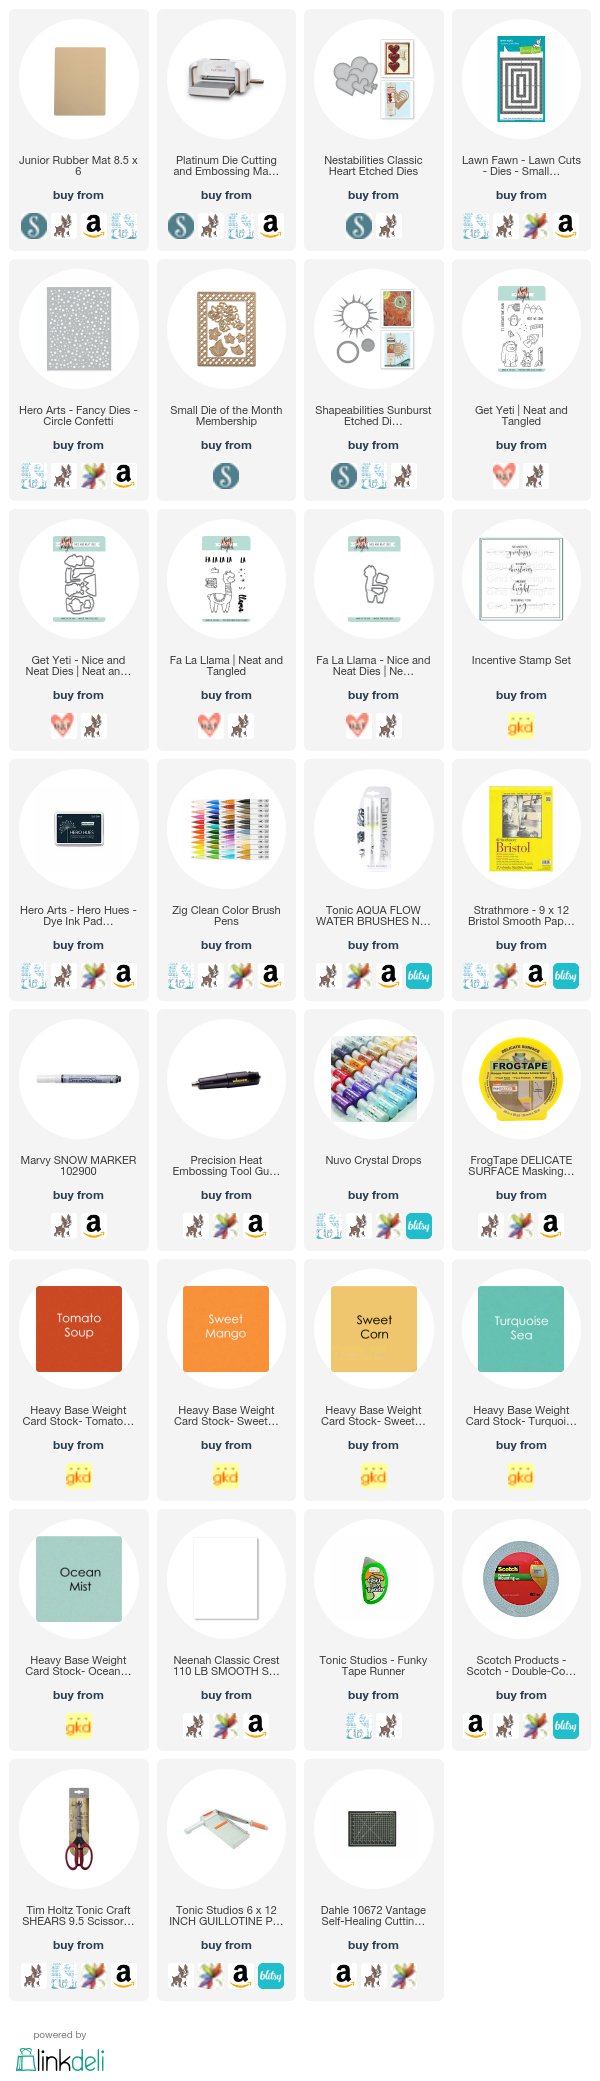
(Looking for anything that I used in the video? All of the supplies are linked with images to multiple stores at the end of this post. Compensated affiliate links used when possible)
For all of the cards, I stamped and colored the adorable images from the Get Yeti and Fa La Llama stamp sets using Zig Clean Color Brush Pens. The dry embossed backgrounds help spotlight the focal images nicely on all of the cards.
To get good dry embossed results, I use a rubber embossing mat which allows the dies to not cut through the cardstock. This is a very helpful tool to have that is useful for many techniques.

On the first example, I used the Classic Hearts dies to create a subtle debossed background. Be sure that none of the dies overlap when running them through your die cutting machine… it will break them!

The second example is similar. However, I used the Small Cross Stitched Rectangle dies to create some delicate details along the lines. These dies created a nice frame around my focal image to spotlight it.

For the third card, I used the Circle Confetti Background die to create a full scene with lots of texture. Background dies can be a bit pricey, but this is another fun way to get more use out of them!

Here I used the exclusive October Die Of The Month from Spellbinders to create a textured frame around my image with lots of detail (I love this little adorable puppy :)). The Die Of The Month membership delivers a set of dies every month that you can have lots of fun creating with!
Also, the beautiful sentiment comes from the Scripty Holiday stamp set and I stamped it inside the embossed frame using masking.

On the last example, I used the opposite side of my cardstock to get an embossed background with the stunning Sunburst die.
On most of the cards, I also used a heat-activated snow marker to give a unique snowy texture and embellish the images. I also added some Nuvo drops across the cards as fun pops of color!

I recently started using the Gina K Designs cardstock to add some color and variety to my cards and am loving the great quality and colors. If you are looking for a good quality cardstock in unique colors I would encourage you to try a sample pack of Gina’s cardstock to see if you love it too. I am looking forward to growing my collection! 🙂
SUPPLIES
Below are all of the supplies used in today’s video linked to multiple stores for convenience. Compensated affiliate links used when possible… Thank you!