Hi there! Today’s video will show you a simple yet effective way to store your enamel shapes, then you can adapt this system to your craft room.
Be sure to also stop back tomorrow for ways to creatively use your enamel shapes on your cards and craft projects.
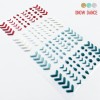
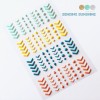
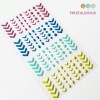
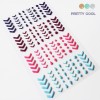
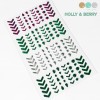
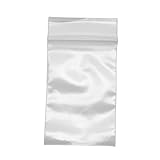
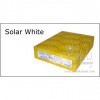
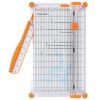
Take a small bag and insert a piece of 110 lb White card stock (3 in. – 1 3/4 in.) to add some strength. Then, Cut down your acetate separating the four colors by themselves. Next, cut the edges of the acetate down to make them fit inside the bag. Finally, add the enamel shapes into the bag and you have yourself a great and easy storage system.
This system is so easy to use and it inspires me to use these embellishments a little bit more. It is nice to be able to only have one color on your desk and be able to pull them in and out of the bags very easily.
Enjoy the video!
SUPPLIES
This is a great storage solution Simon. I already have mine in these little zip-locks but it didn’t occur to me to put the card stock behind them! DAH! (As you may have guessed MY solution is NOT quite finished! LOL) TFS!
Merry Christmas!
Thank you, what a great idea.
Merry Christmas
Hi Simon! Great storage idea. Even better was the way you took the top off of the storage box! Loved how that worked and that is something I would never have thought of! Keep up the good work!
Hi Simon, I also like to use the plastic bags to keep my supplies organized. I have found that when doing so, if I use my corner rounder punch on both the cardstock insert and the stiff plastic carrier sheet that the embellishments are on, the plastic bags are less likely to tear down the sides over time. I also use my corner rounder punch when organizing using page protector sheets in a binder. Thanks so much for the video. You do very well with them. Enjoy your school break for the holidays.
Great storage idea!
Is there anywhere in the states that carry these enamel stickers?
Thanks!